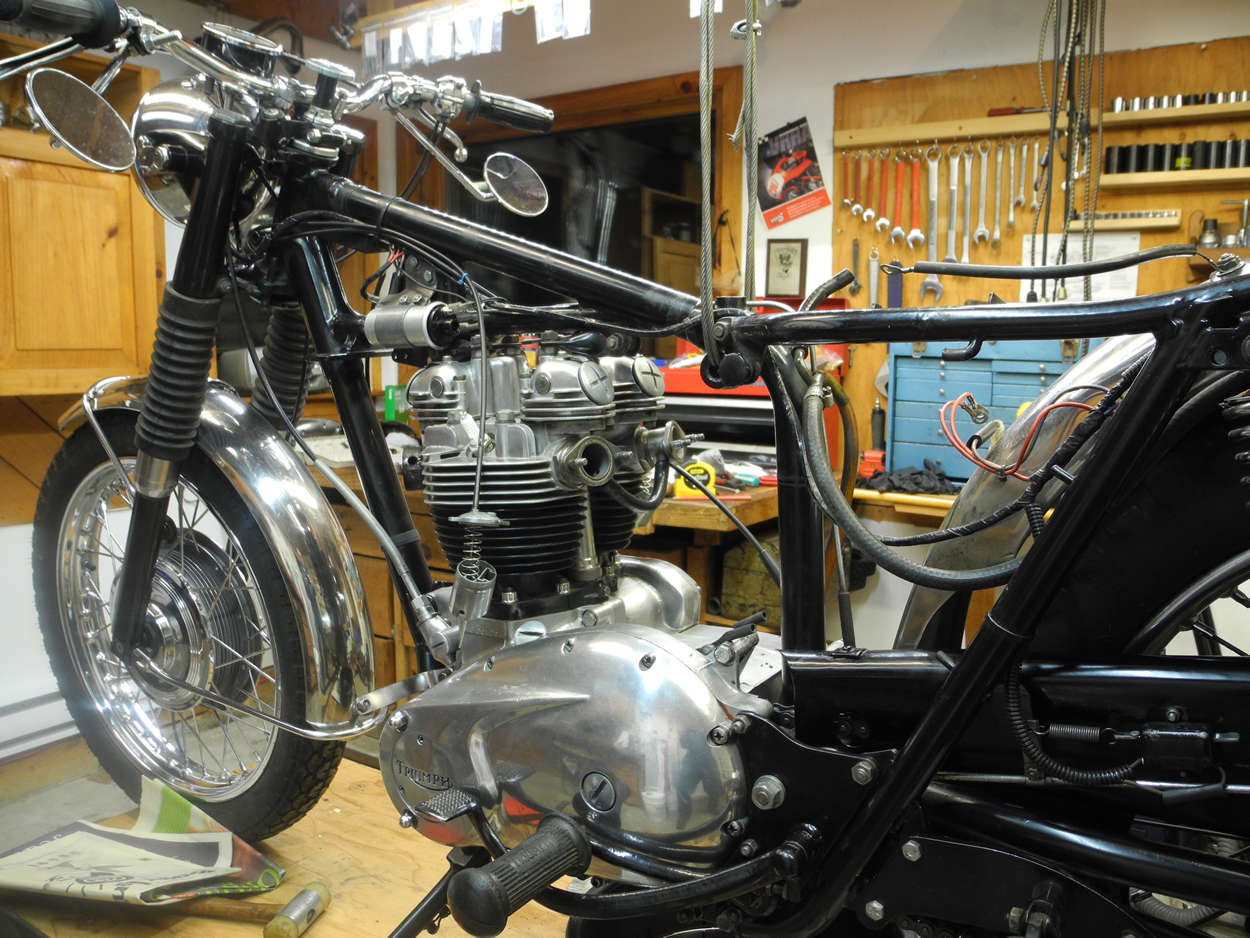
By the time Bonnie turned 37 years and 33,000 miles old in 2006 her wiring harness was showing quite a few signs of wear. That winter I powder coated the frame and since I had to remove the harness anyway, I decided to replace it with a reproduction harness from British Wiring.
The British Wiring harness for my 1969 T102R went for US$159 in 2006 and it was a beauty: it fit perfectly and worked flawlessly for 10 years before an accidental release of Lucas smoke during, ahem, routine maintenance, degraded reliability with intermittent failures.
Don't you hate that word? ... intermittently.
After a few heart-dropping electric ignition failures in out of the way locations I decided to replace the wiring harness a second time.
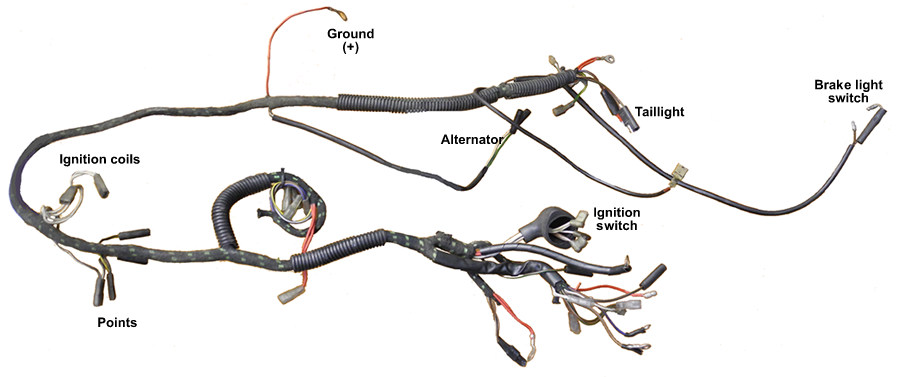
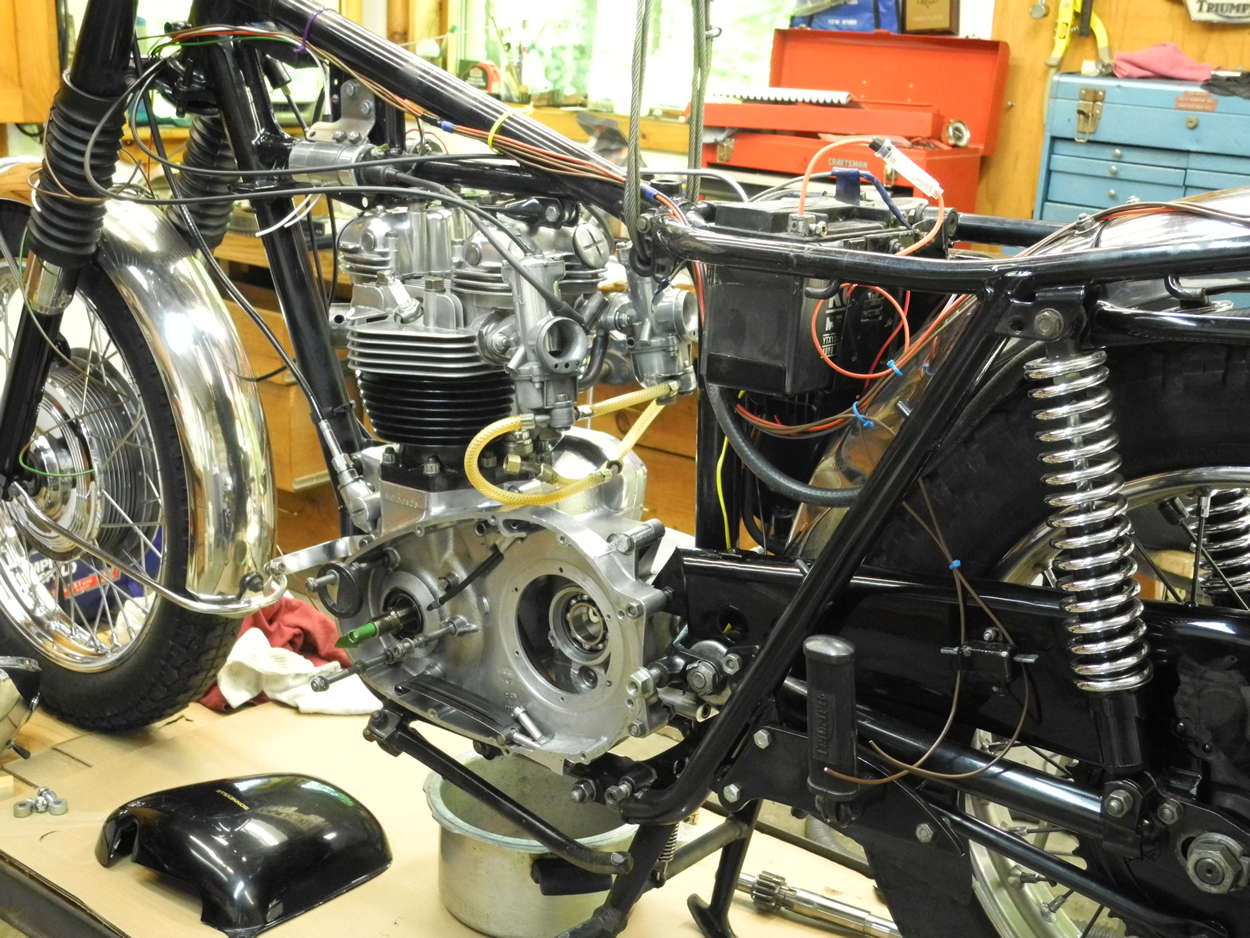
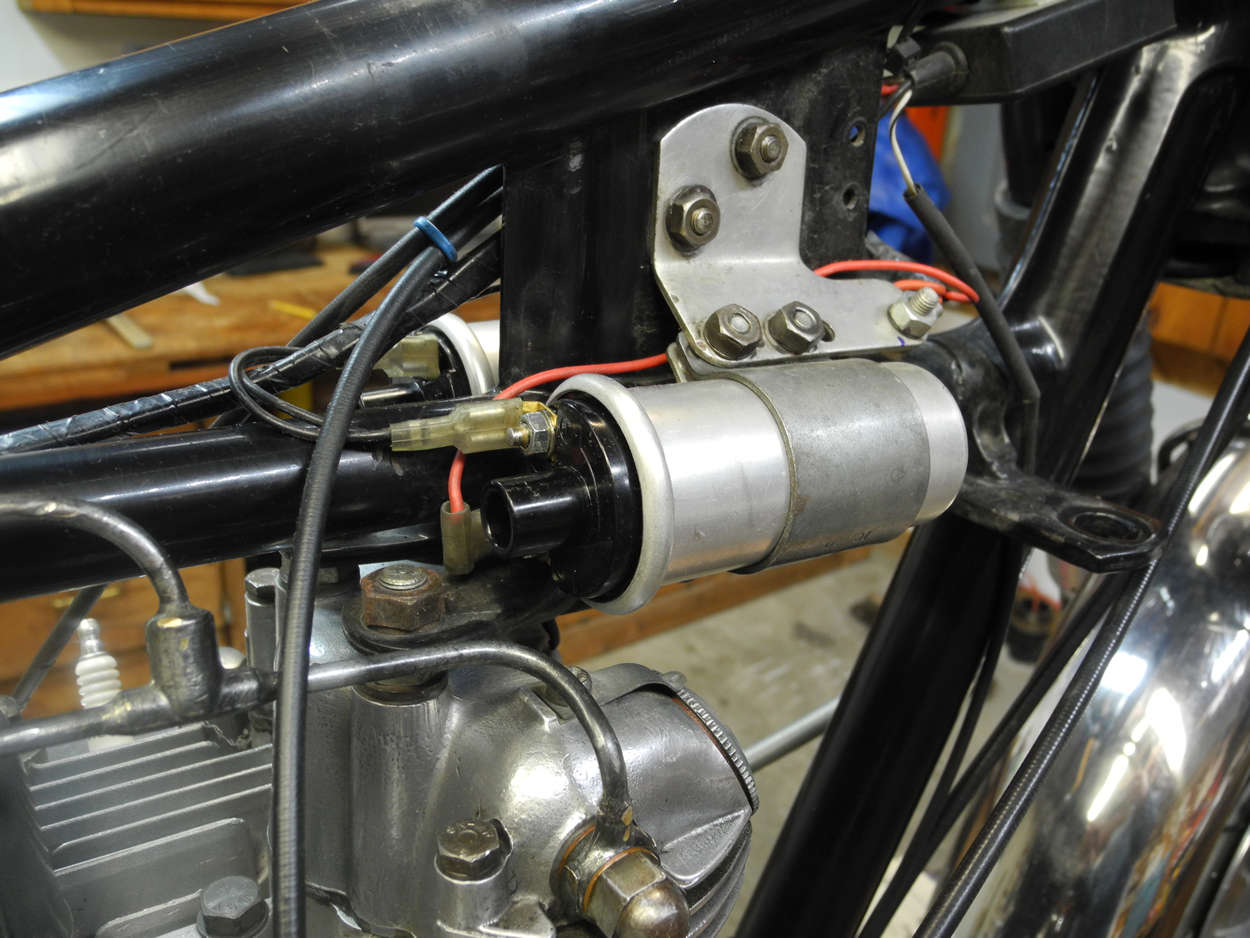
For this second harness replacement a custom wiring approach seemed logical in light of modifications I'd made to the Bonnie over time. These included replacing ignition points with a Pazon electronic ignition system, and replacing the zenner diode and selenium rectifier with a Podtronics power module. Also, a stock harness would include wiring for horn, handlebar dip switch, oil pressure switch, and turn signals; all things moved or removed.
All things considered, I opted for fabricating a harness. Once the correct materials are obtained, assembling the harness is straight-forward, with patience and attention to detail.
For a total cost of US$169 I purchased everything I needed, again, from British Wiring. The order included a really serious bullet connector crimping tool, twice as much wire in all colors as I had estimated would be required, and more than enough bullets in all sizes, as well as spade and ring connectors, insulators, etc.
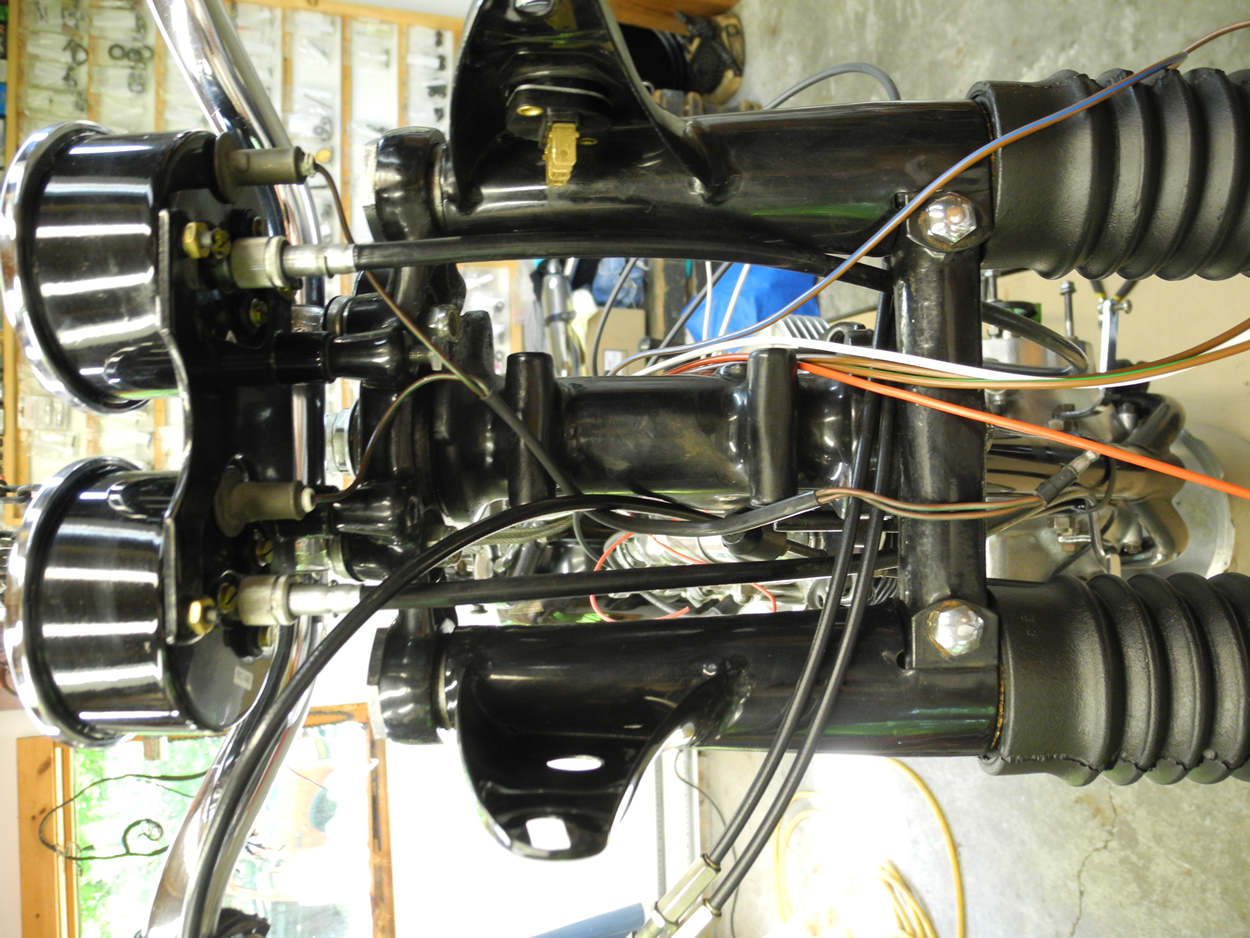
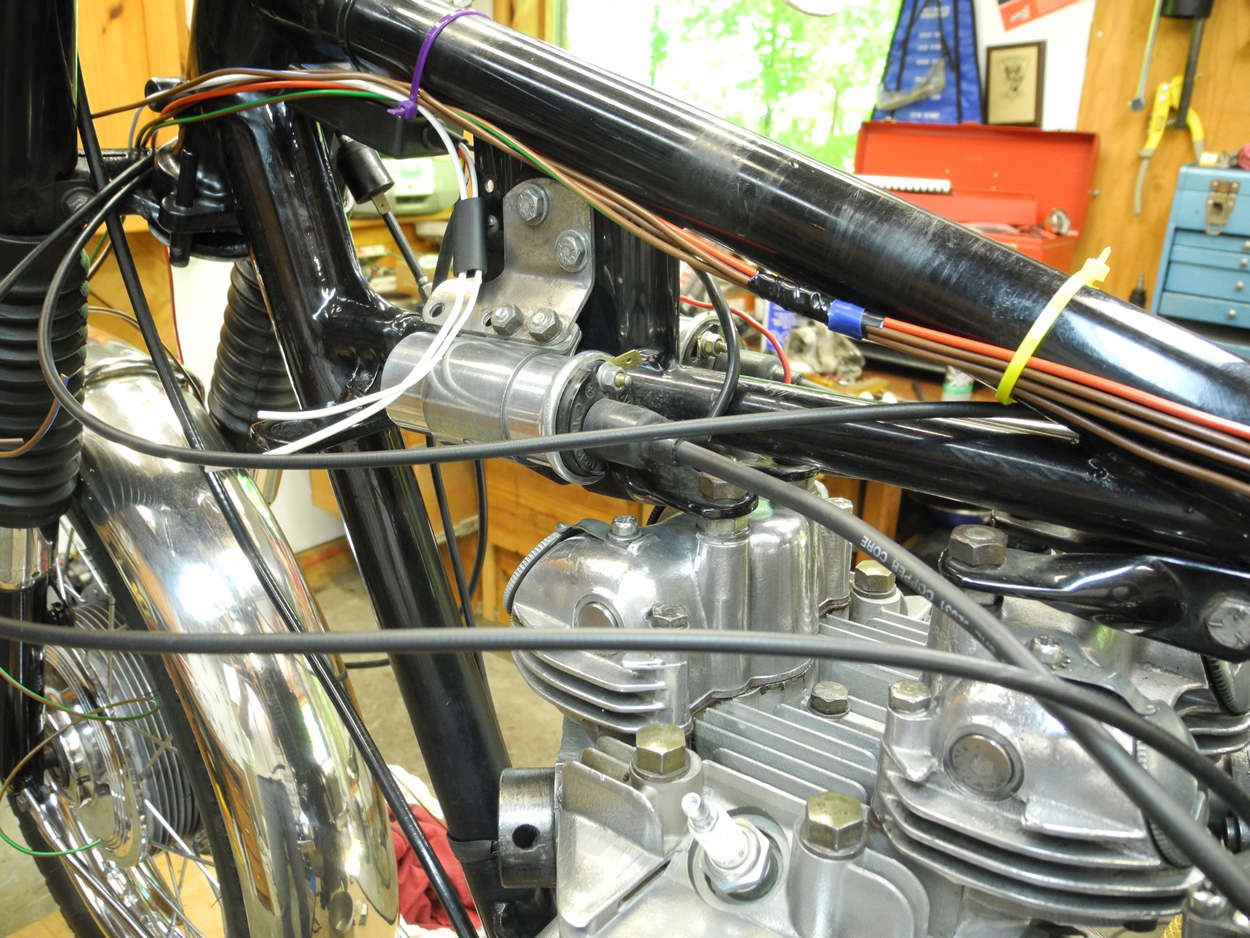
Besides including only the wires that Bonnie needs where she needs them, the custom harness is made with a heavier gauge wire all around, is twin-fused, and includes a multi-point running ground.
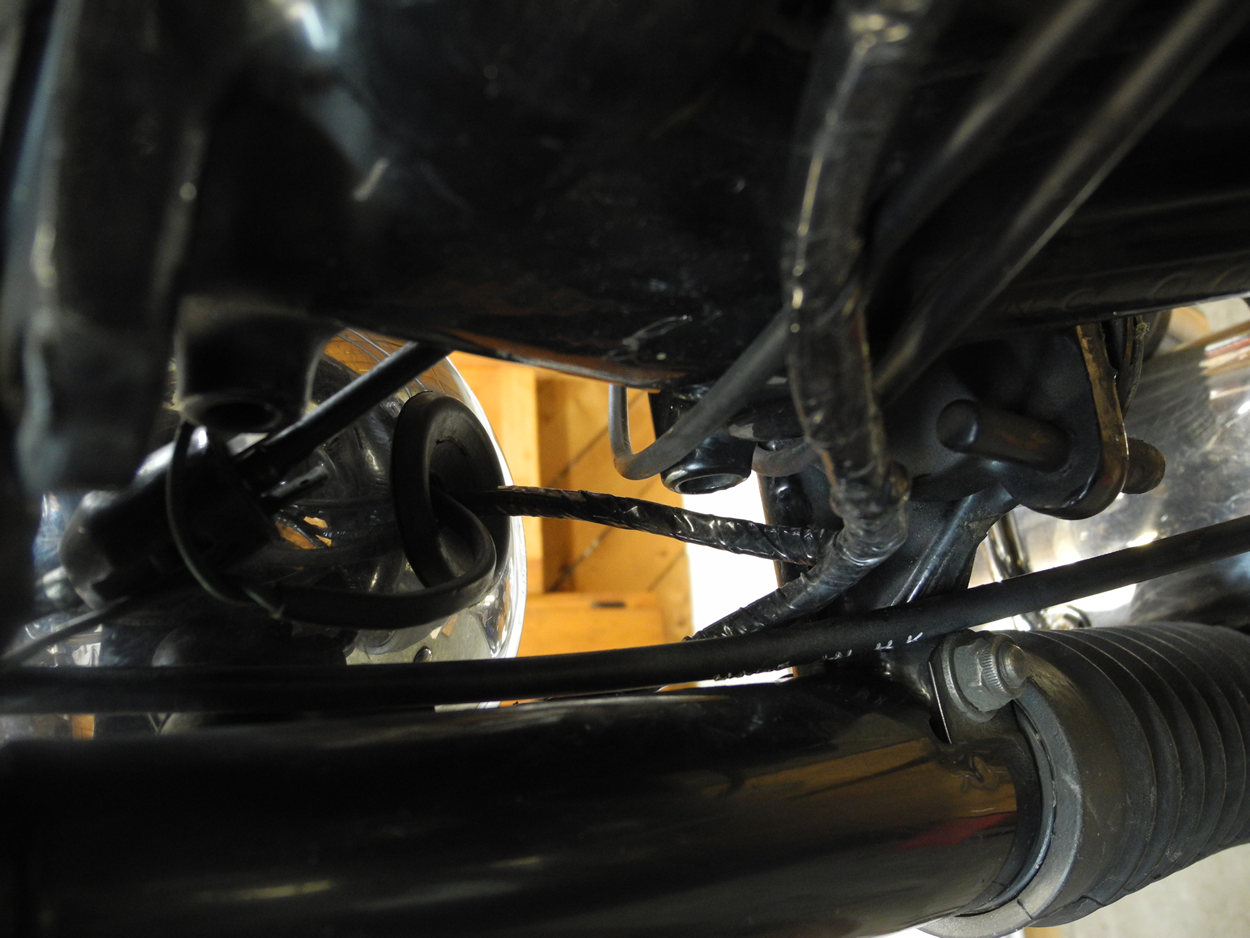
Lucas, Wassel, and British Wiring all use 14-strand wire throughout their 'off-the-shelf' harnesses. The 14-strand wire they use has a max current rating of 8.5 amps; even a momentary short instantly toasts these wires and melts their insulation. (Go ahead, ask how I know). Therefore, I decided on using 28-strand wire throughout. The sole difficulty I encountered using heavier wire was passing three 28-strand wires through the fender hole for the tailight (I chose to run a dedicated ground wire to the tailight) - tight fit!
In order to simplify future trouble-shooting I made the colors of my wiring match that of the Lucas color-codes. After making measurements on the bike I estimated the number of feet of each color of wire I'd need. It added up to a total of 35 feet, which rounds up to 11 meters. At $1.10 per meter, I ordered 22 meters.
Click on Diagrams and Photos to Enlarge
As you can see by the diagram below the wiring is minimal.
 Schematic Diagram
I wrapped the new harness using a specially designed vinyl tape from British Wiring. The tape has no adhesive, and therefore won't ooze sticky tape goo when heated by summer temperatures and engine heat. Instead, this tape clings to itself and each winding holds the previous one in place, with the ends secured by a short piece of electricians' tape.
I was skeptical about using this tape, but after doing so I'm a convert - besides holding up really well and being easy to clean off with a damp rag, this tape can be easily removed for making harness modifications or repairs without leaving behind a mess.
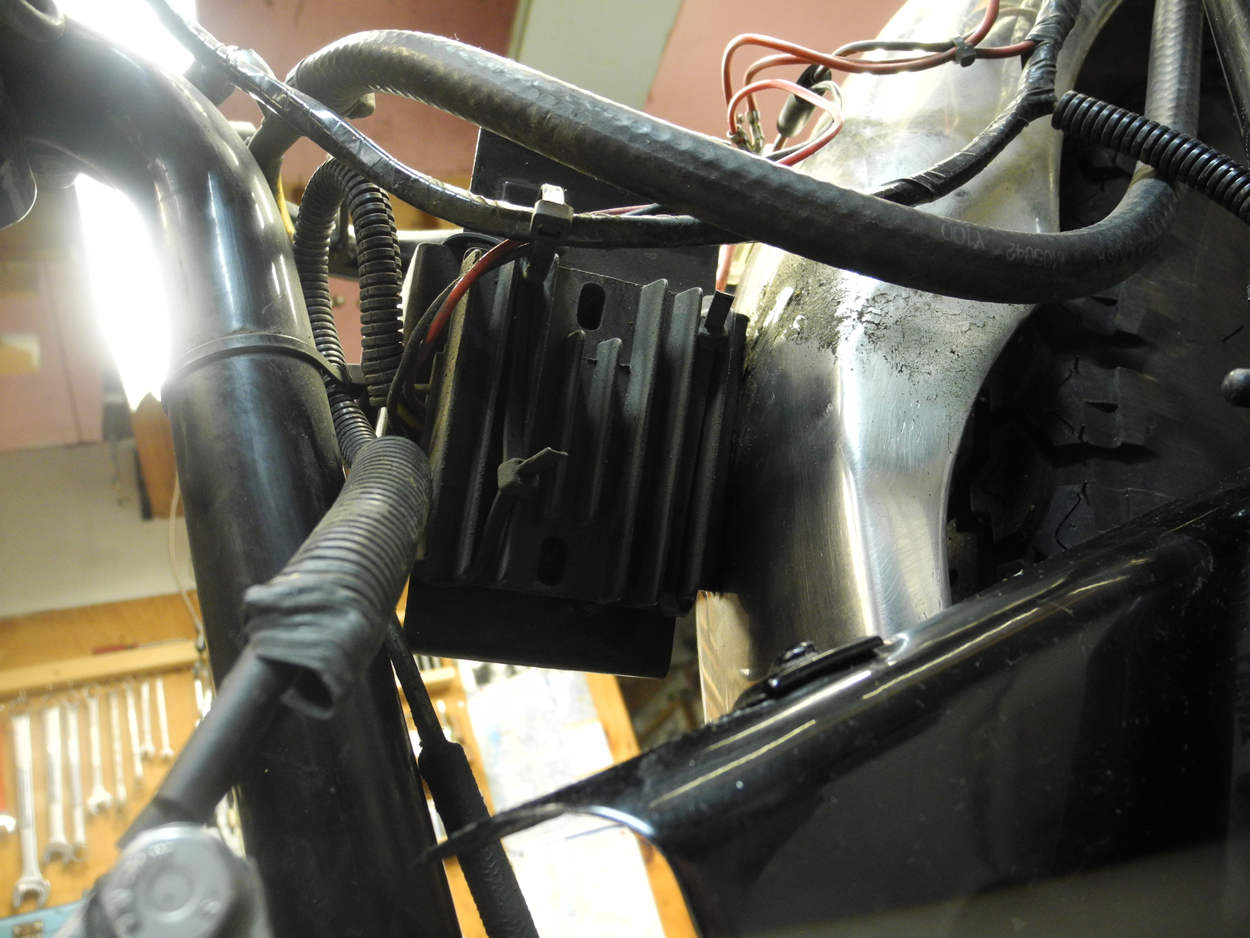
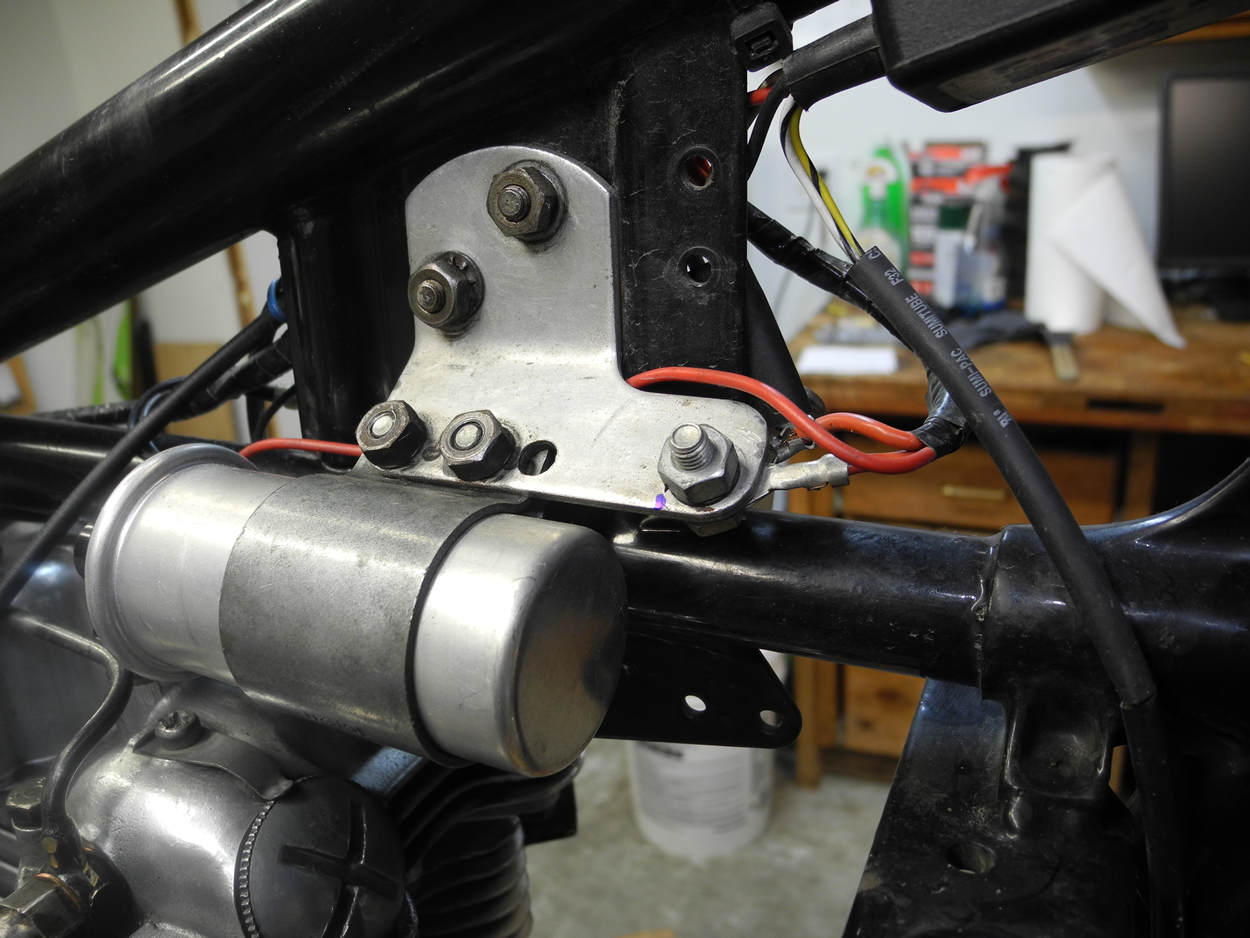
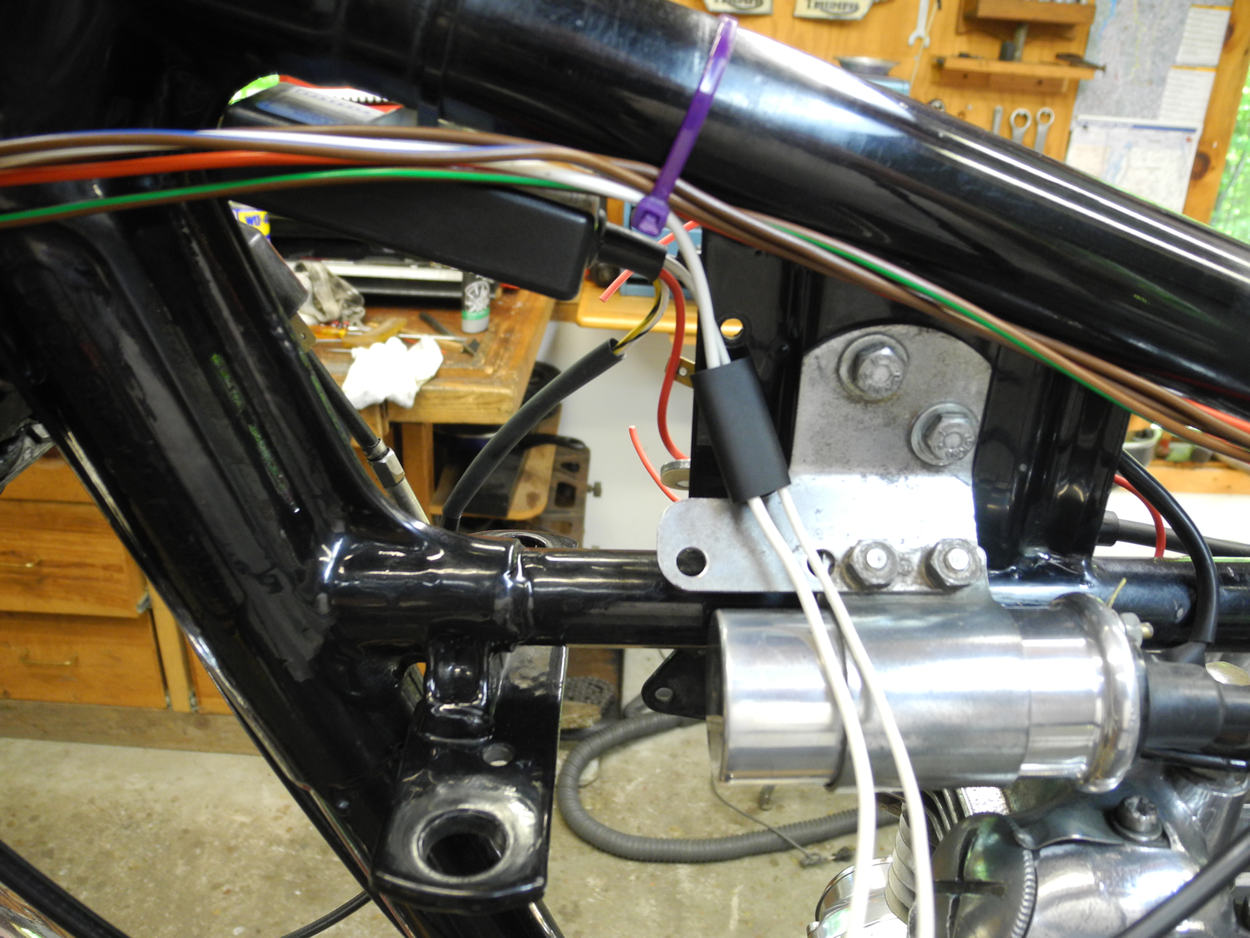
I used the now vacant selenium rectifier's mounting tab as a common ground beneath the seat. After connecting this point to the battery's positive terminal, I ran ground wires from it to the stoplight/taillight, the headlamp shell, and a ground point beneath the gas tank for the Pazon.